
 Gleb Lepeshkin
Head of Content Marketing
Google Chrome has no proxy settings of its own — it uses your operating system’s proxy. Open Chrome, go to Settings, then System, and click “Open your computer’s proxy settings” to reach them. For a Chrome-only proxy, launch it with the –proxy-server flag or use an extension like FoxyProxy.
System Proxy Settings: Windows and macOS
Chrome does not keep its own proxy configuration. The proxy entry in its settings is a shortcut that opens the operating system’s network panel, so changing it there affects every app on the machine, not just Chrome. The fastest route is Settings → System → Open your computer’s proxy settings, then enter the host and port in the OS dialog.
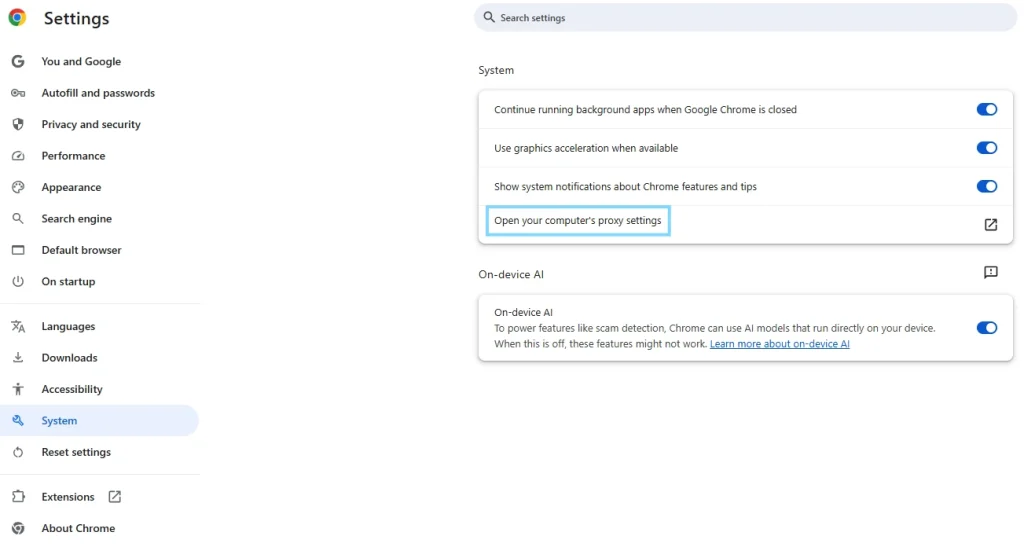
On Windows, this opens Internet Properties. Go to the Connections tab, click LAN settings, check “Use a proxy server for your LAN”, and enter the proxy address and port. Click OK to save.
On macOS, this opens Network preferences. Select your active connection, click Advanced, go to the Proxies tab, check the proxy protocol you need (Web Proxy for HTTP, Secure Web Proxy for HTTPS), and enter the host and port.
When you need a proxy for Chrome only, without affecting anything else on the machine, launch Chrome from the command line with the –proxy-server flag:
Windows:
chrome.exe –proxy-server=”host:port”
macOS:
/Applications/Google\ Chrome.app/Contents/MacOS/Google\ Chrome –proxy-server=”host:port”
This applies only to that Chrome instance. The system proxy stays untouched, which makes it useful for testing a proxy without disrupting other apps, or for keeping one browser session on a specific IP while the rest of the machine connects directly.
If the proxy requires authentication, Chrome will prompt for a username and password the first time it connects. For proxies that use IP whitelisting instead, no credentials are needed in the command.
Per-Profile and Per-Site Proxy in Chrome
The system proxy panel is global. It cannot route different Chrome profiles through different proxies, and it cannot send traffic to different proxies based on the site you are visiting.
For that level of control, use a browser extension. FoxyProxy and Proxy SwitchyOmega are the two standard choices. Both are available for Chrome in the Chrome Web Store.
With FoxyProxy: add your proxy with host, port, type, and credentials, switch the mode to “Use proxies based on their defined patterns and order”, then add URL patterns for the domains that should route through it. Wildcards (*.example.com) and regex are both supported. Traffic that does not match any pattern goes direct.
With Proxy SwitchyOmega: create a proxy profile with your connection details, then create a switch profile that maps URL conditions to proxy profiles. This suits setups where you need several proxies and want fine-grained control over which domains use each one.
Both extensions store their configuration inside the Chrome profile, so different Chrome profiles can have different extension settings and effectively run different proxy configurations in parallel.
After any change, verify the active IP with a quick IP check before sending real traffic through the proxy.